How to Sculpt your Features to Perfection.
A simple guide for achieving a diffused, dimensional look.
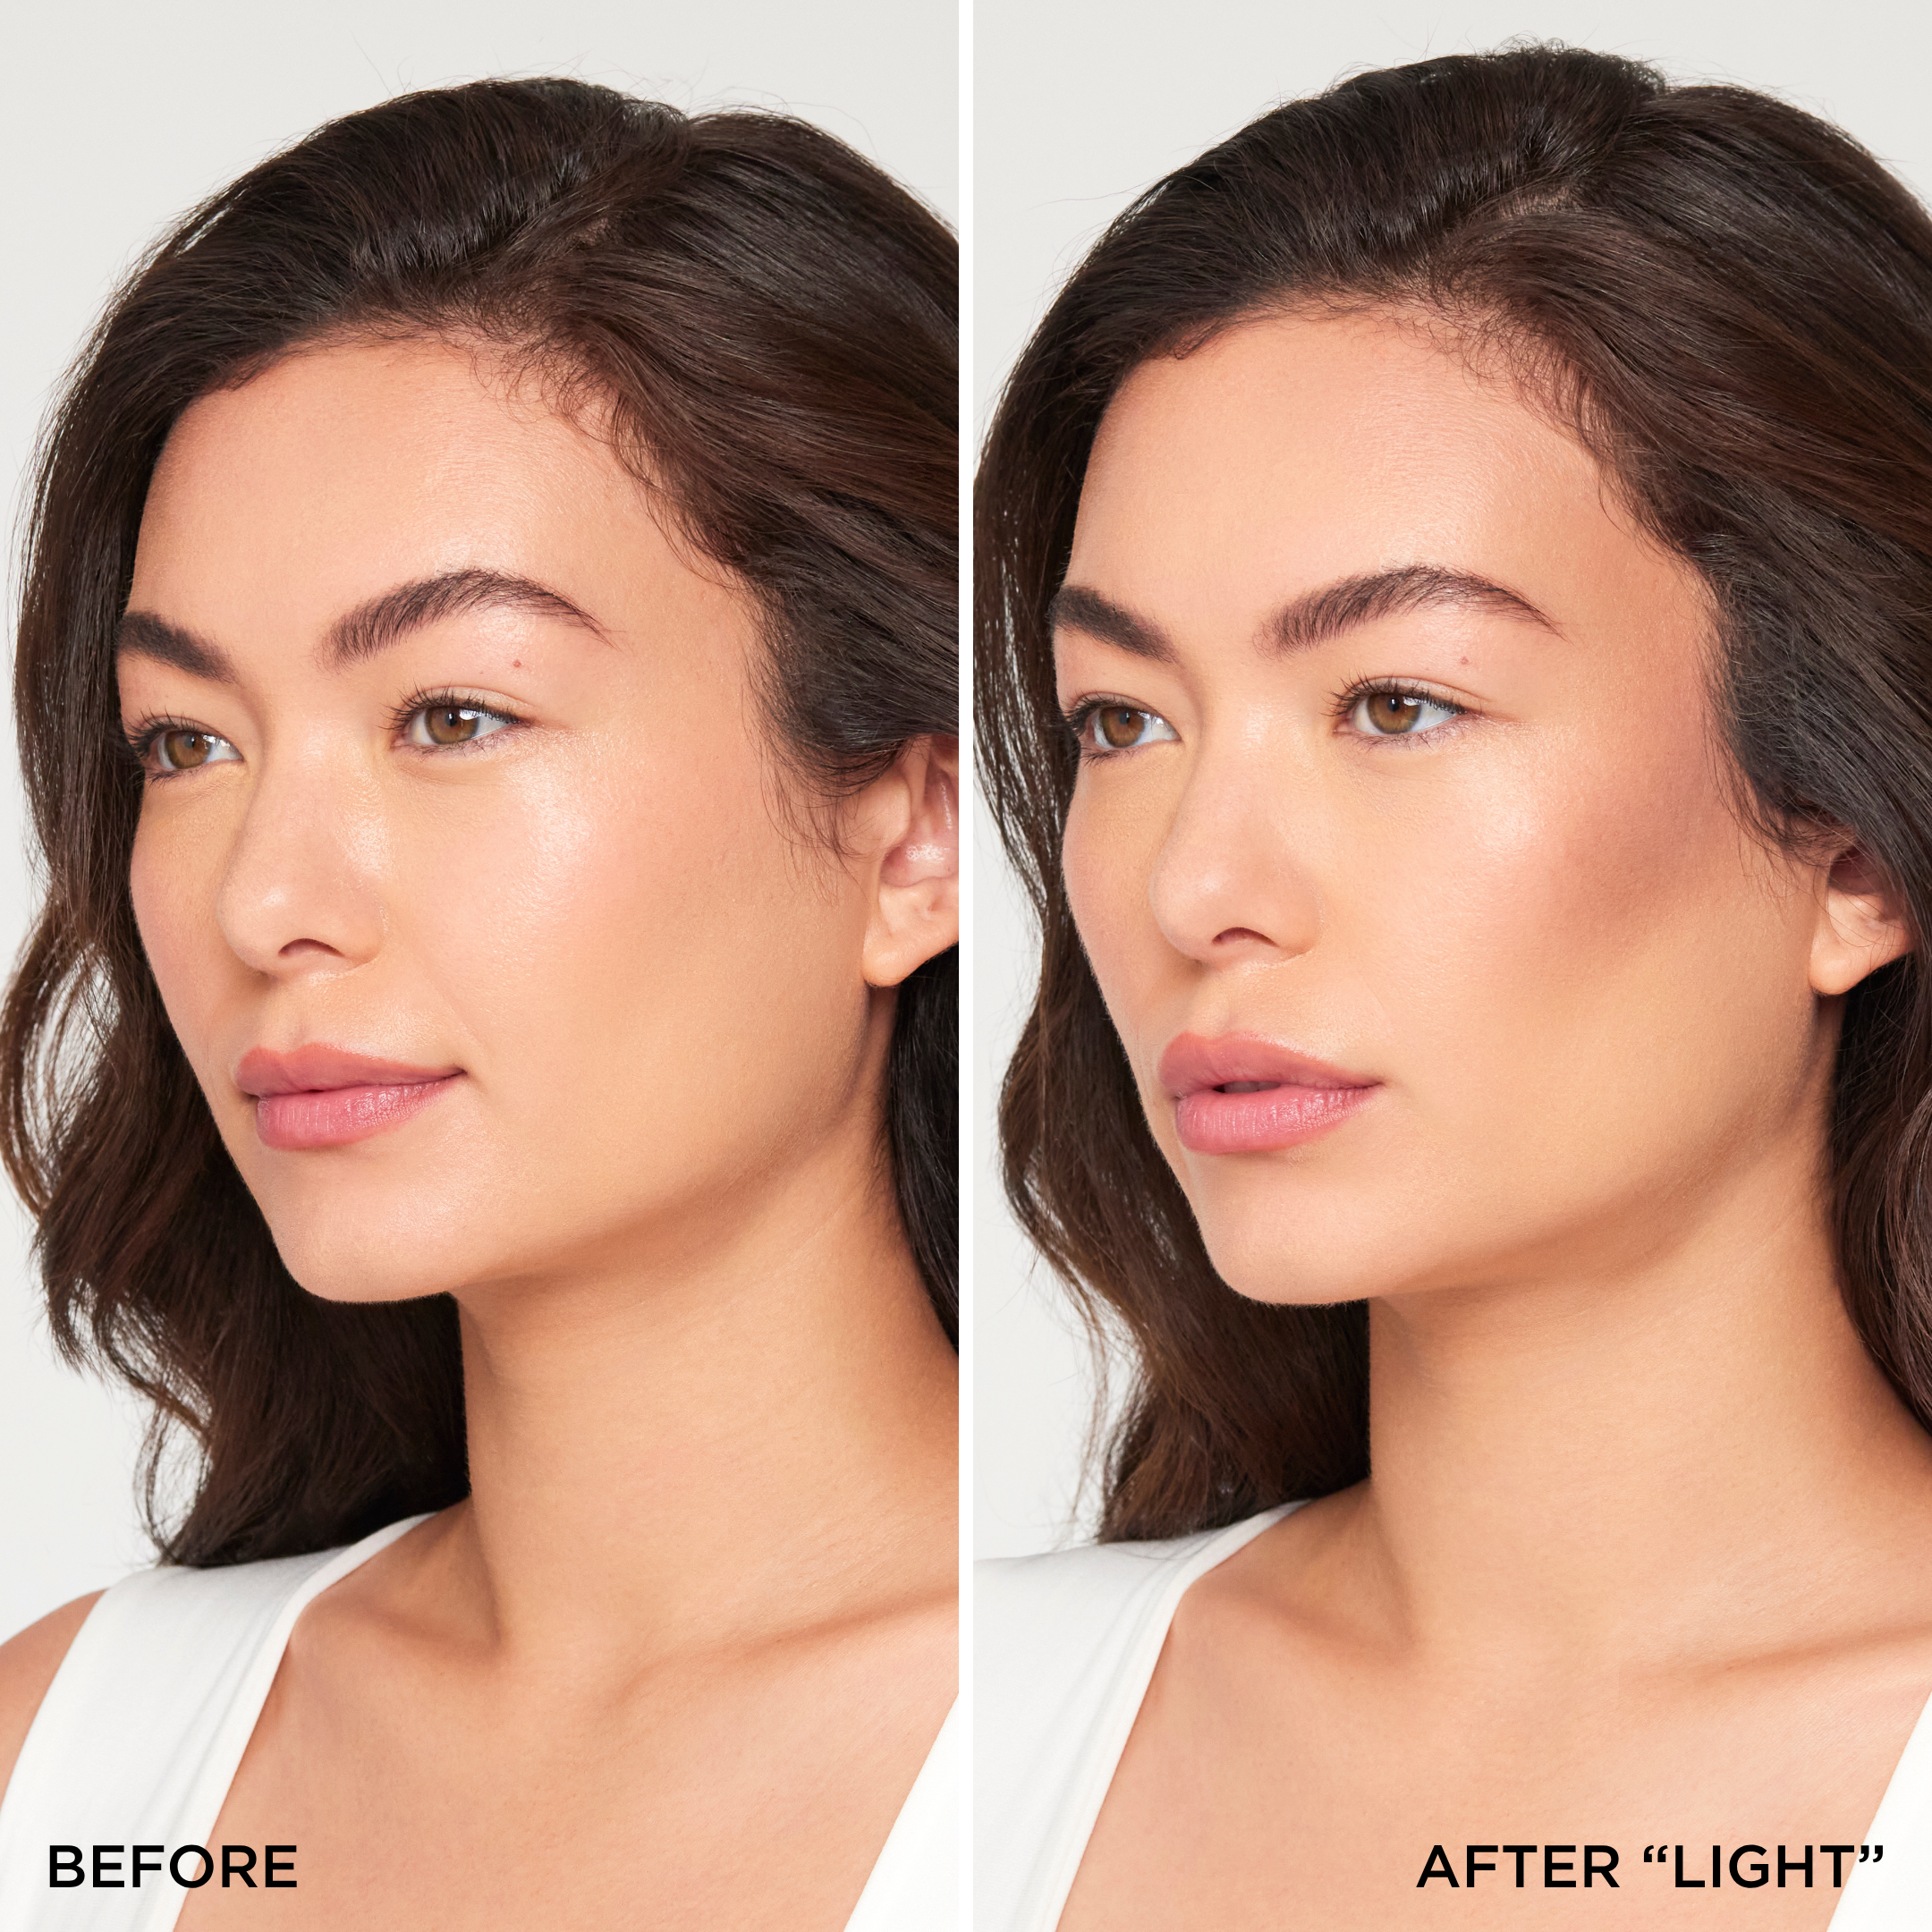
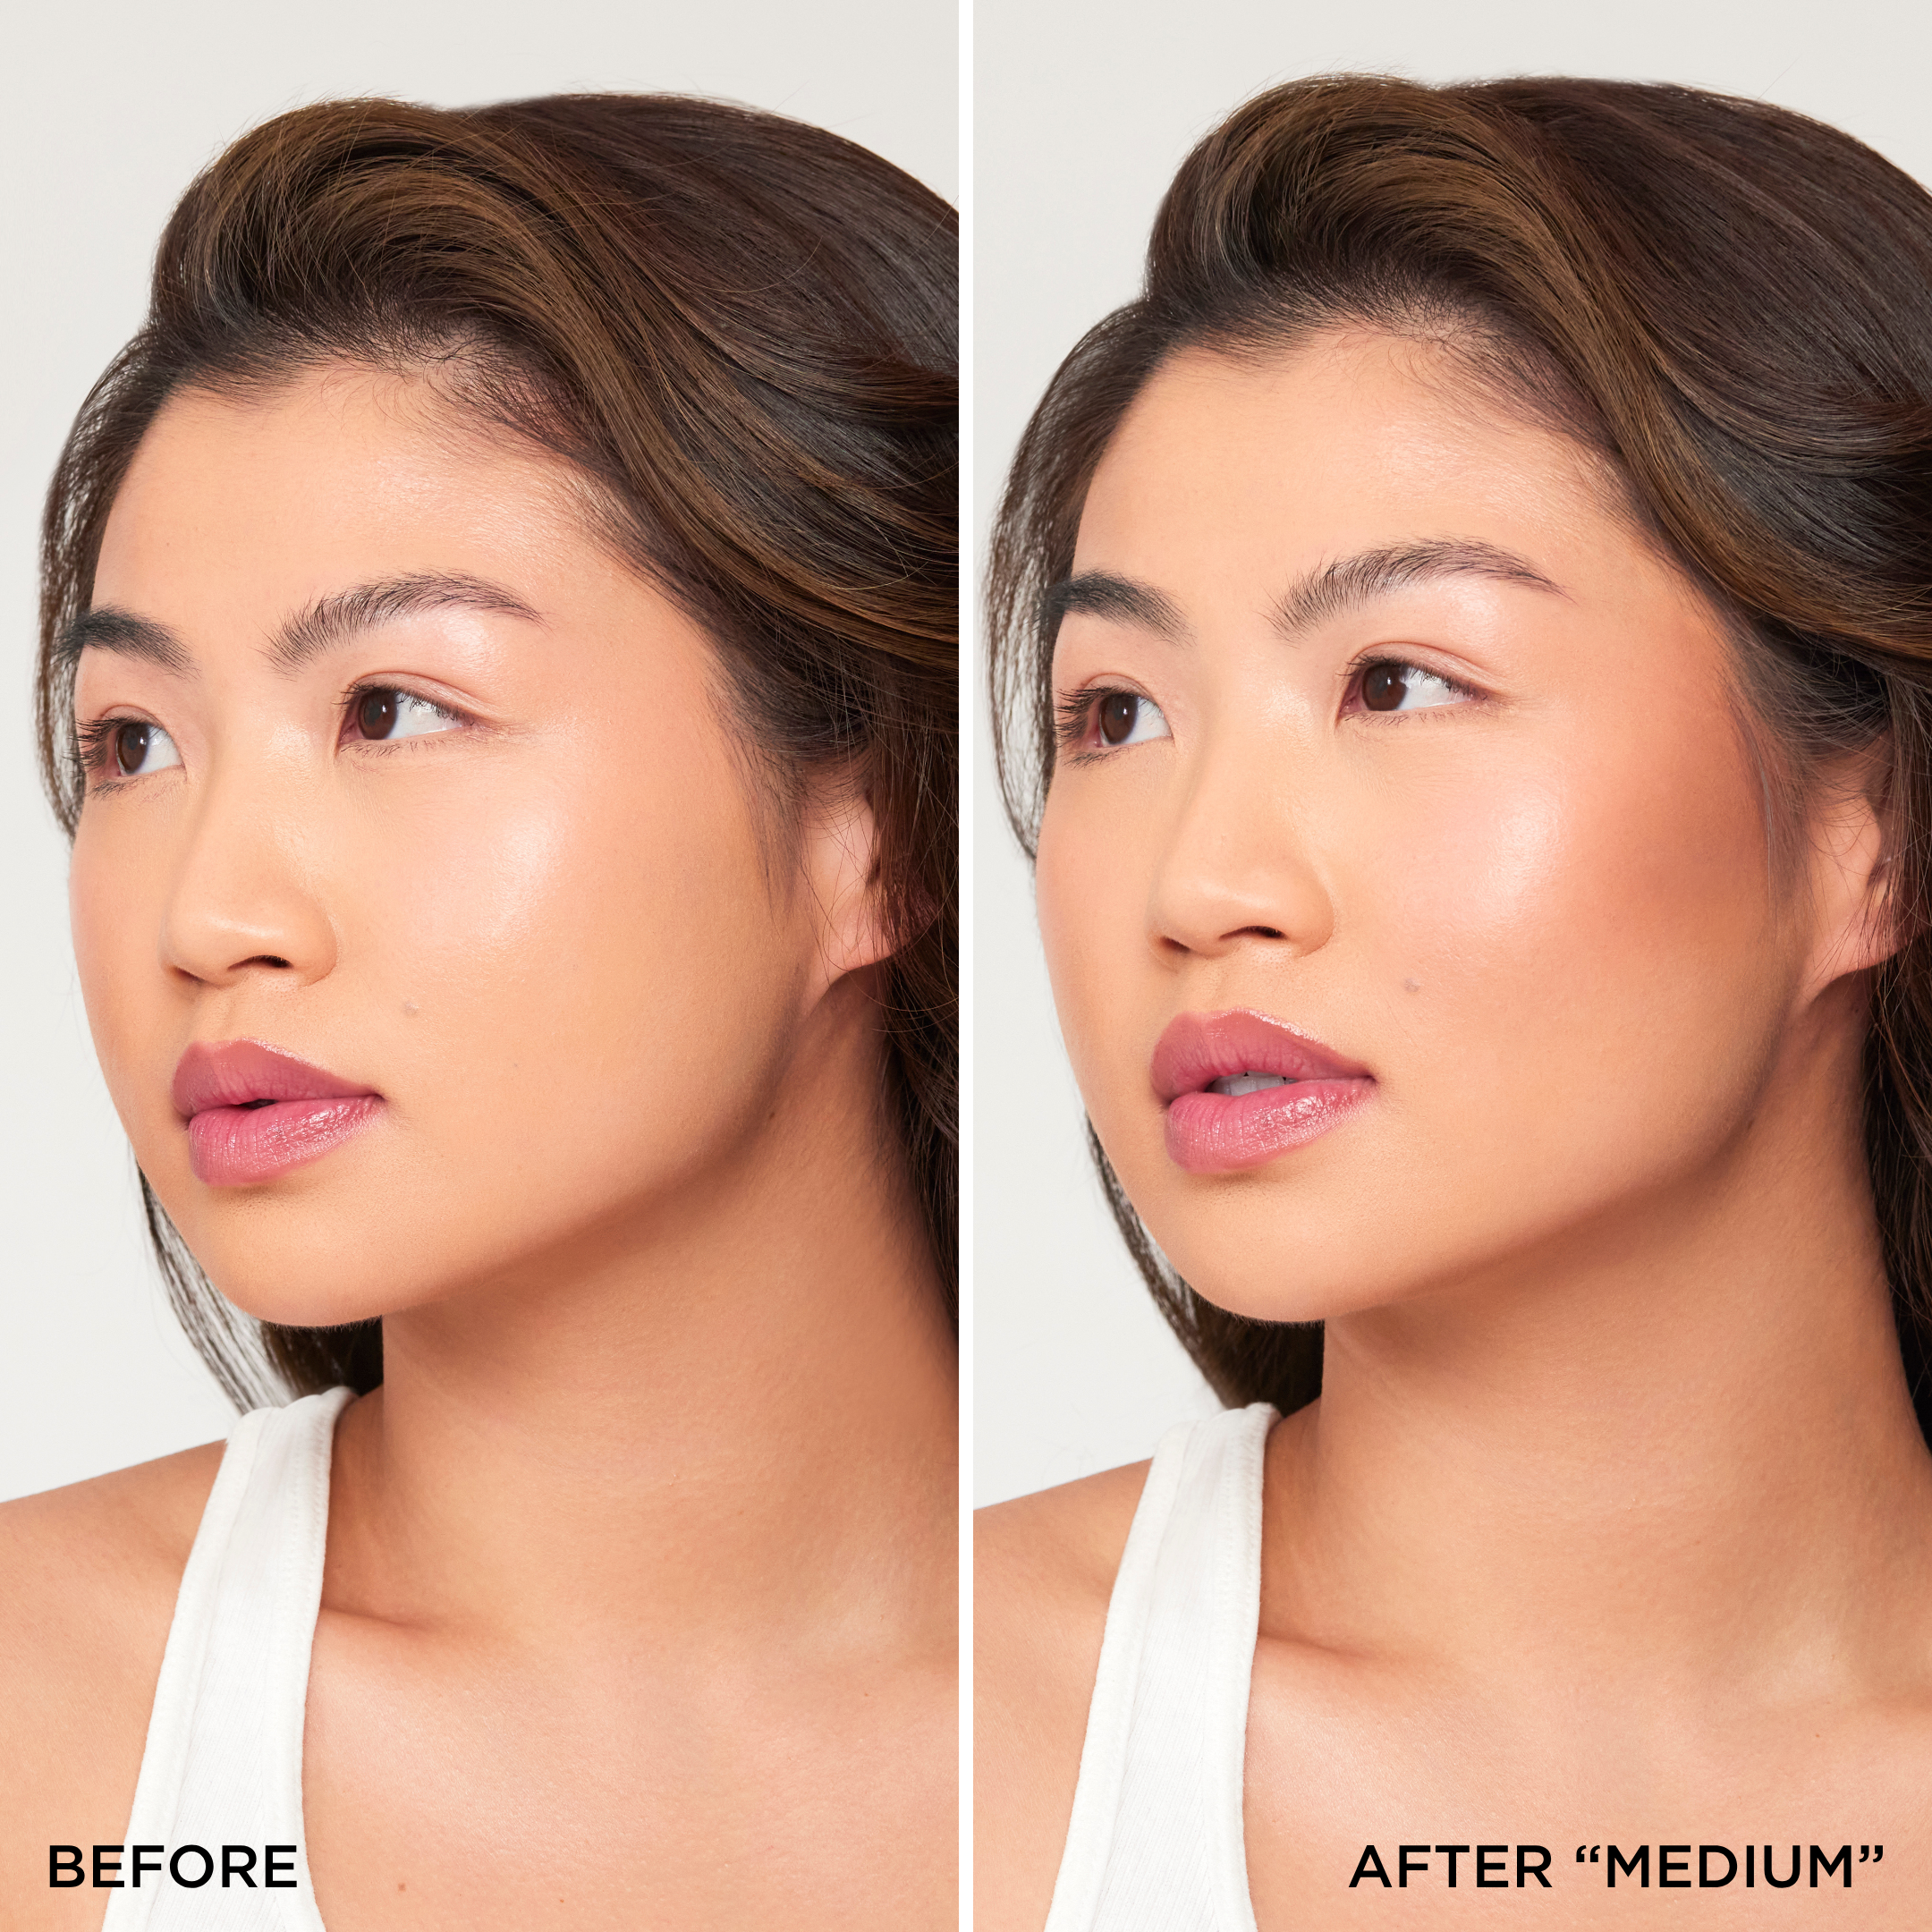
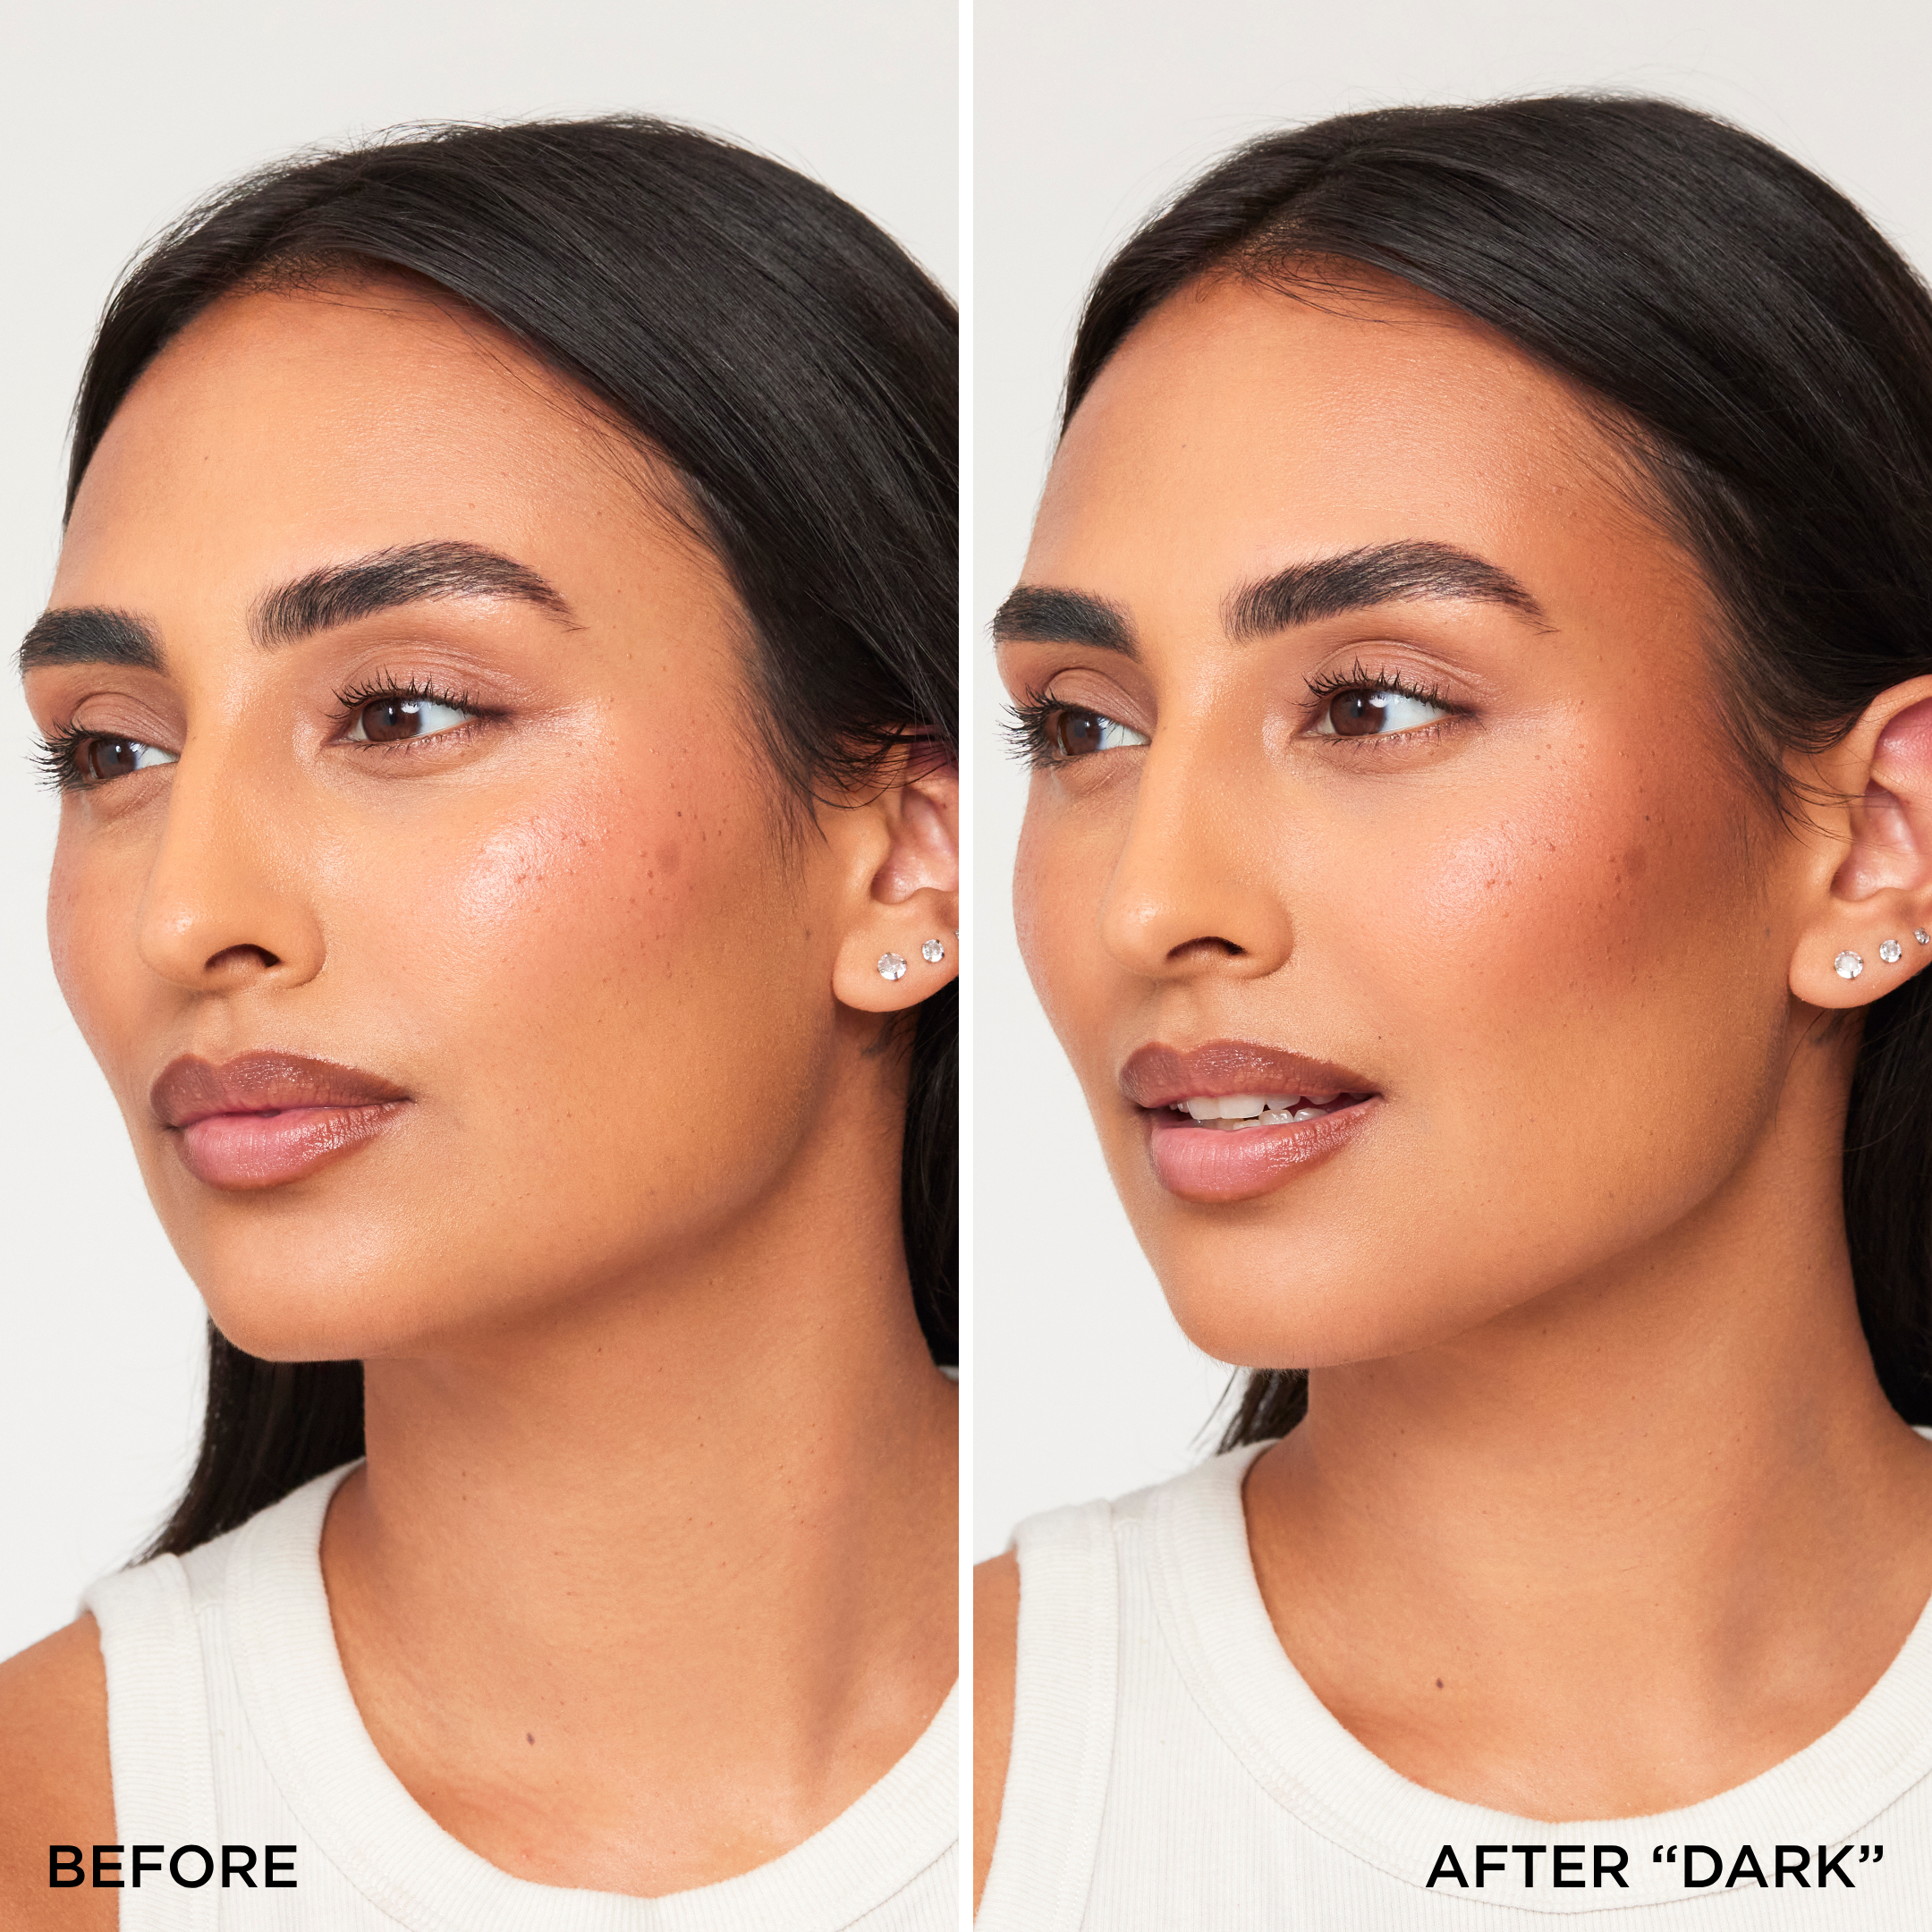
Contouring is a makeup technique that we’re all familiar with, yet sometimes the actual method leaves many of us stumped. We’ve come a long way since the Kardashian-induced contouring craze of the early 2010s, so thankfully we’re here to tell you how you can achieve the beautiful, sculpted red carpet looks that we all once coveted.
When done properly, contouring can enhance your already beautiful features.
Choose the right tools
Contrary to what you might think, the tools that you use to apply your contour are very important.
If you start off with a brush that’s too dense, you run the risk of packing on too much product and ending up with a muddy face. If you pick up a brush that’s too large, your product of choice will end up covering too much surface area – leaving your face the opposite of chiseled (which we definitely don’t want). Luckily, we’ve crafted the perfect tool for contouring and sculpting your favorite features to perfection.
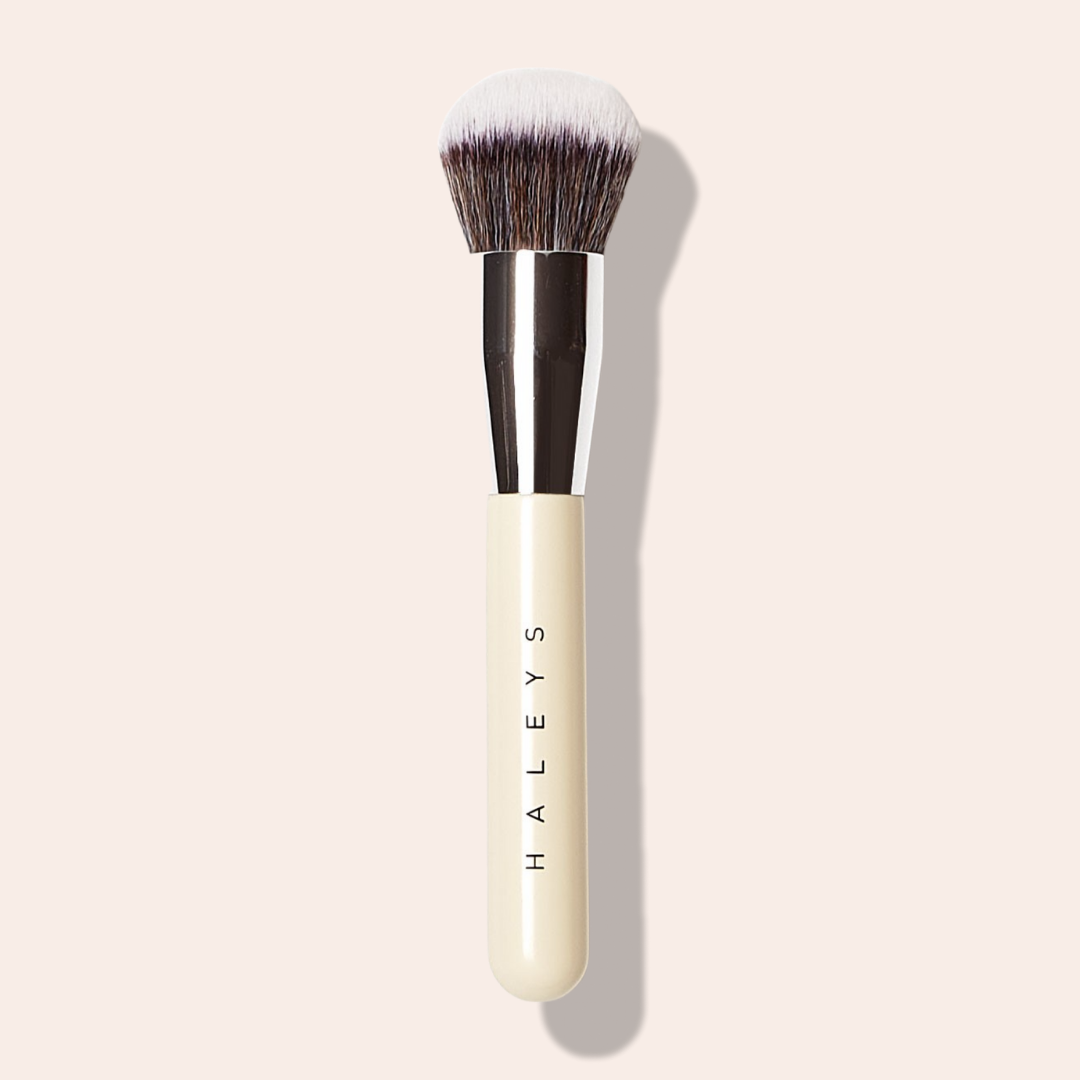
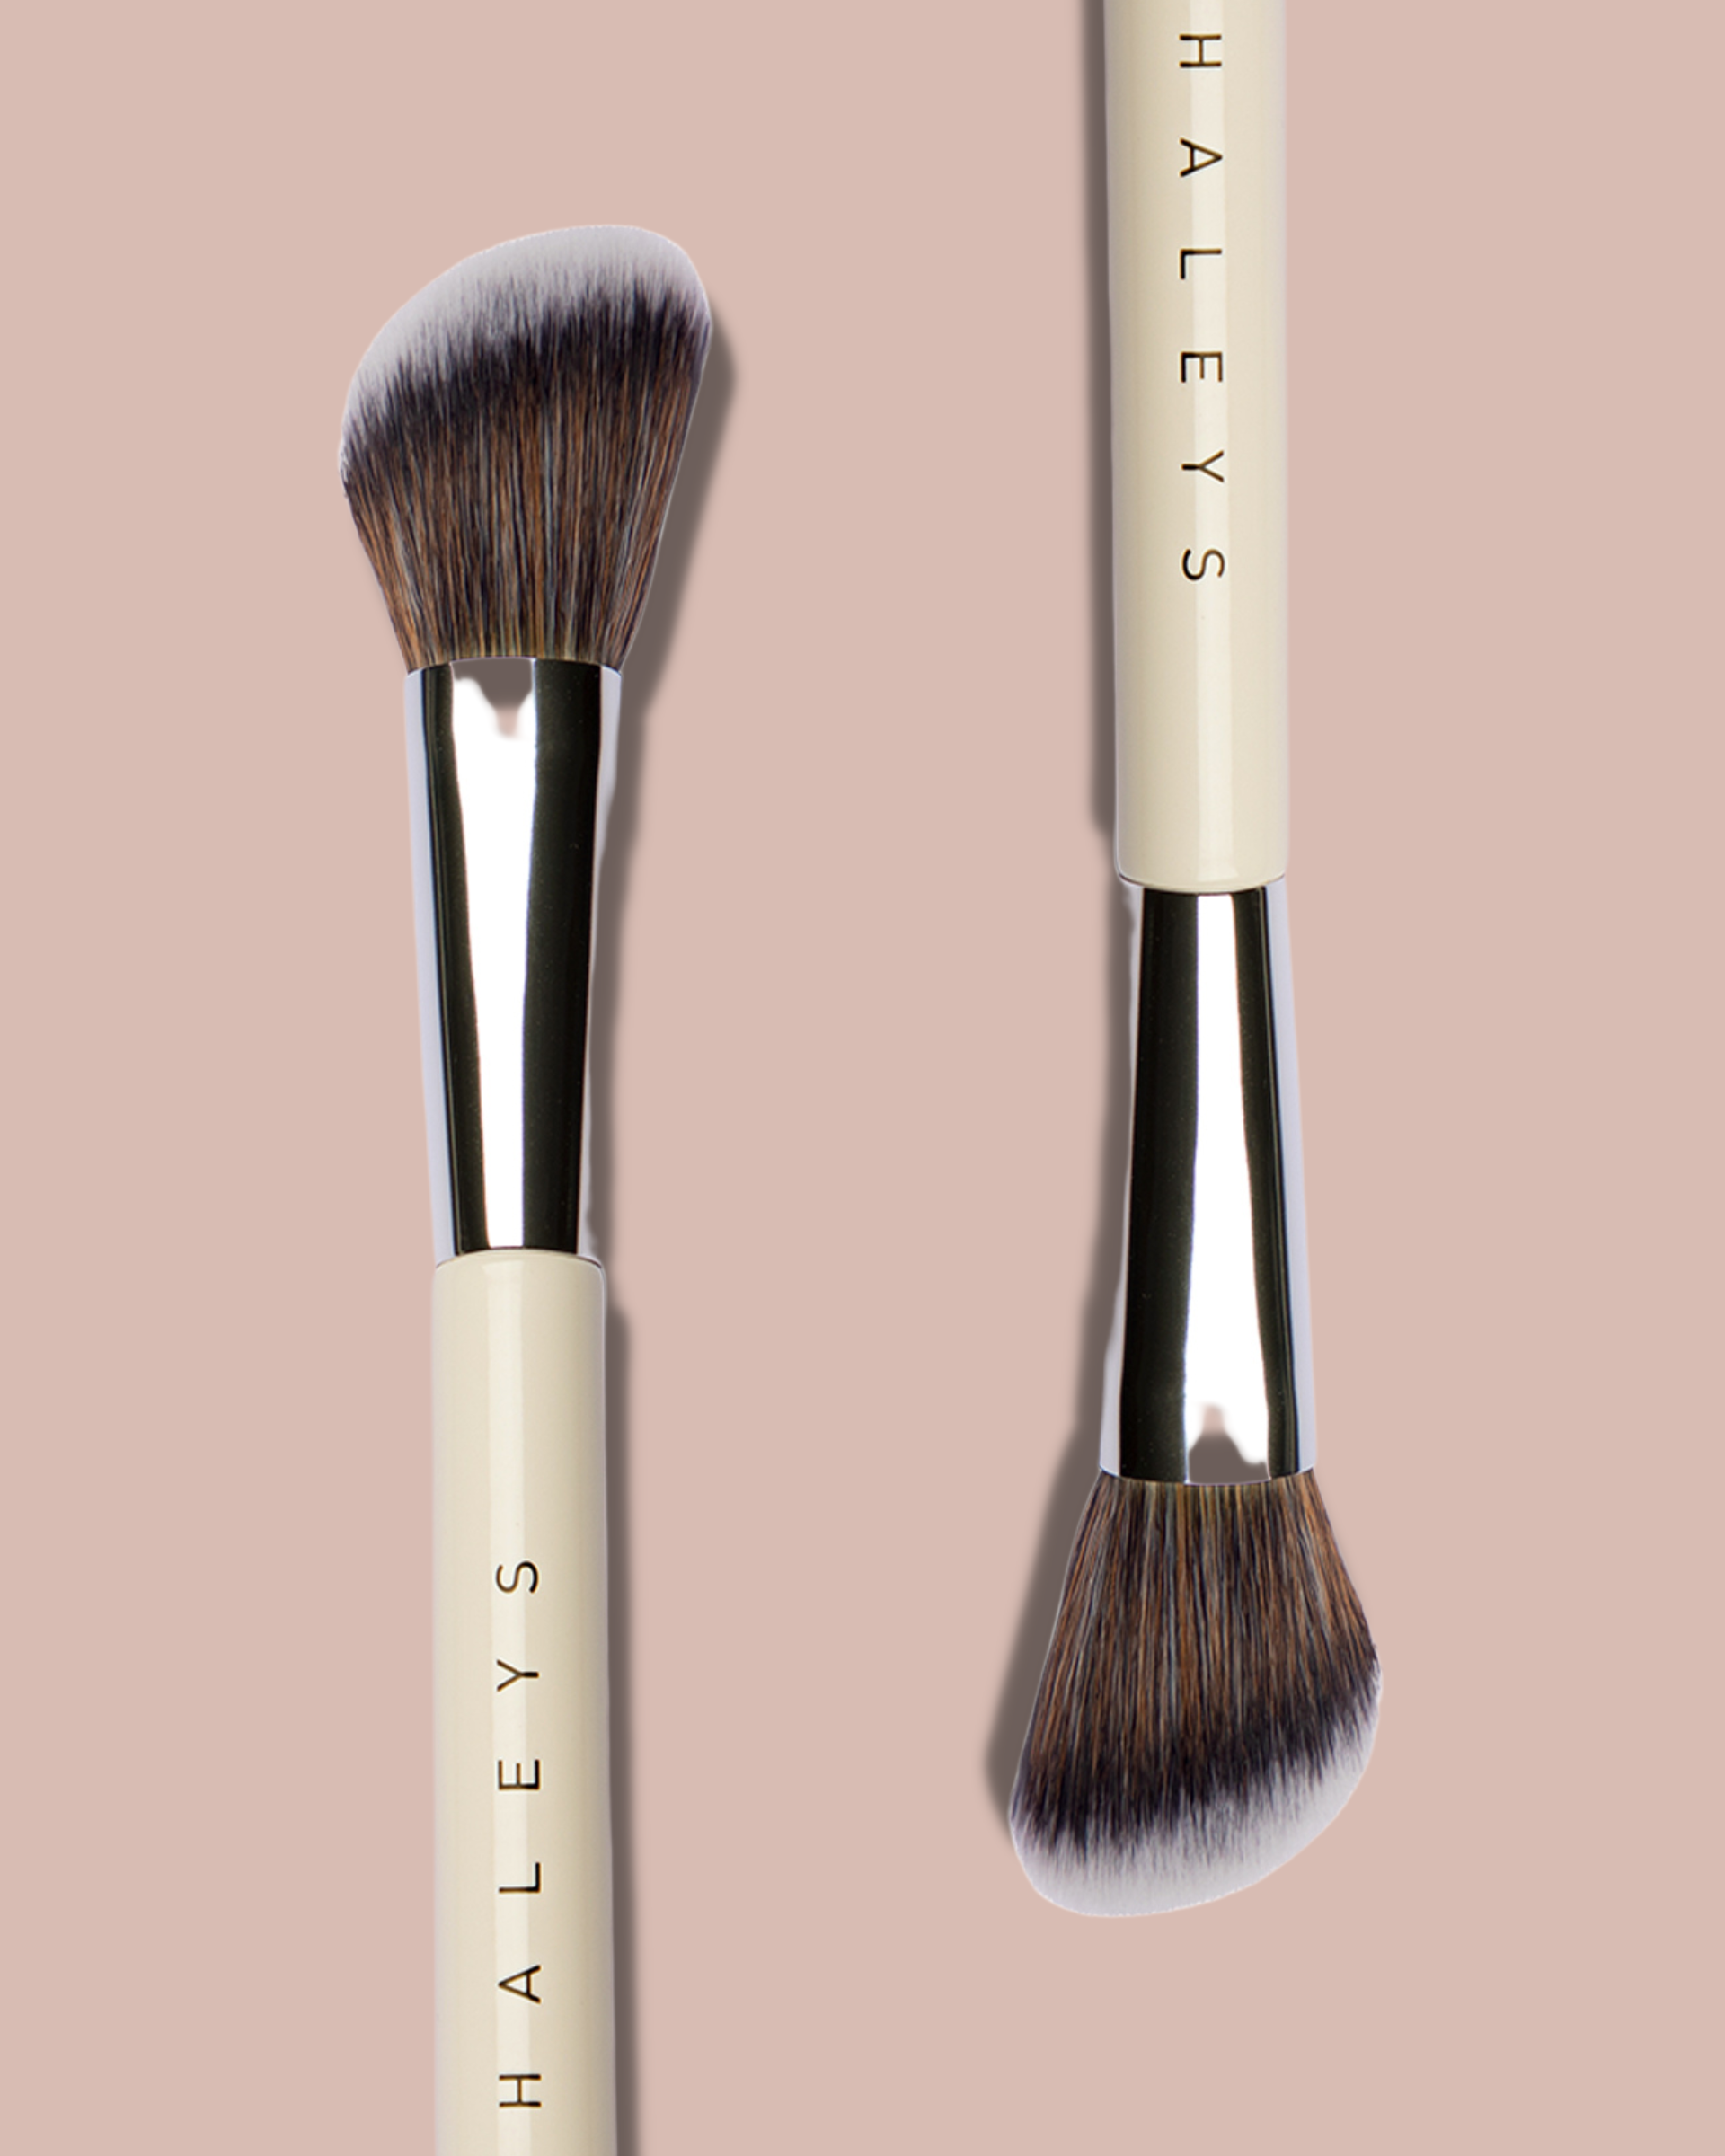
Meet our NEW Brilliant Contour Brush!

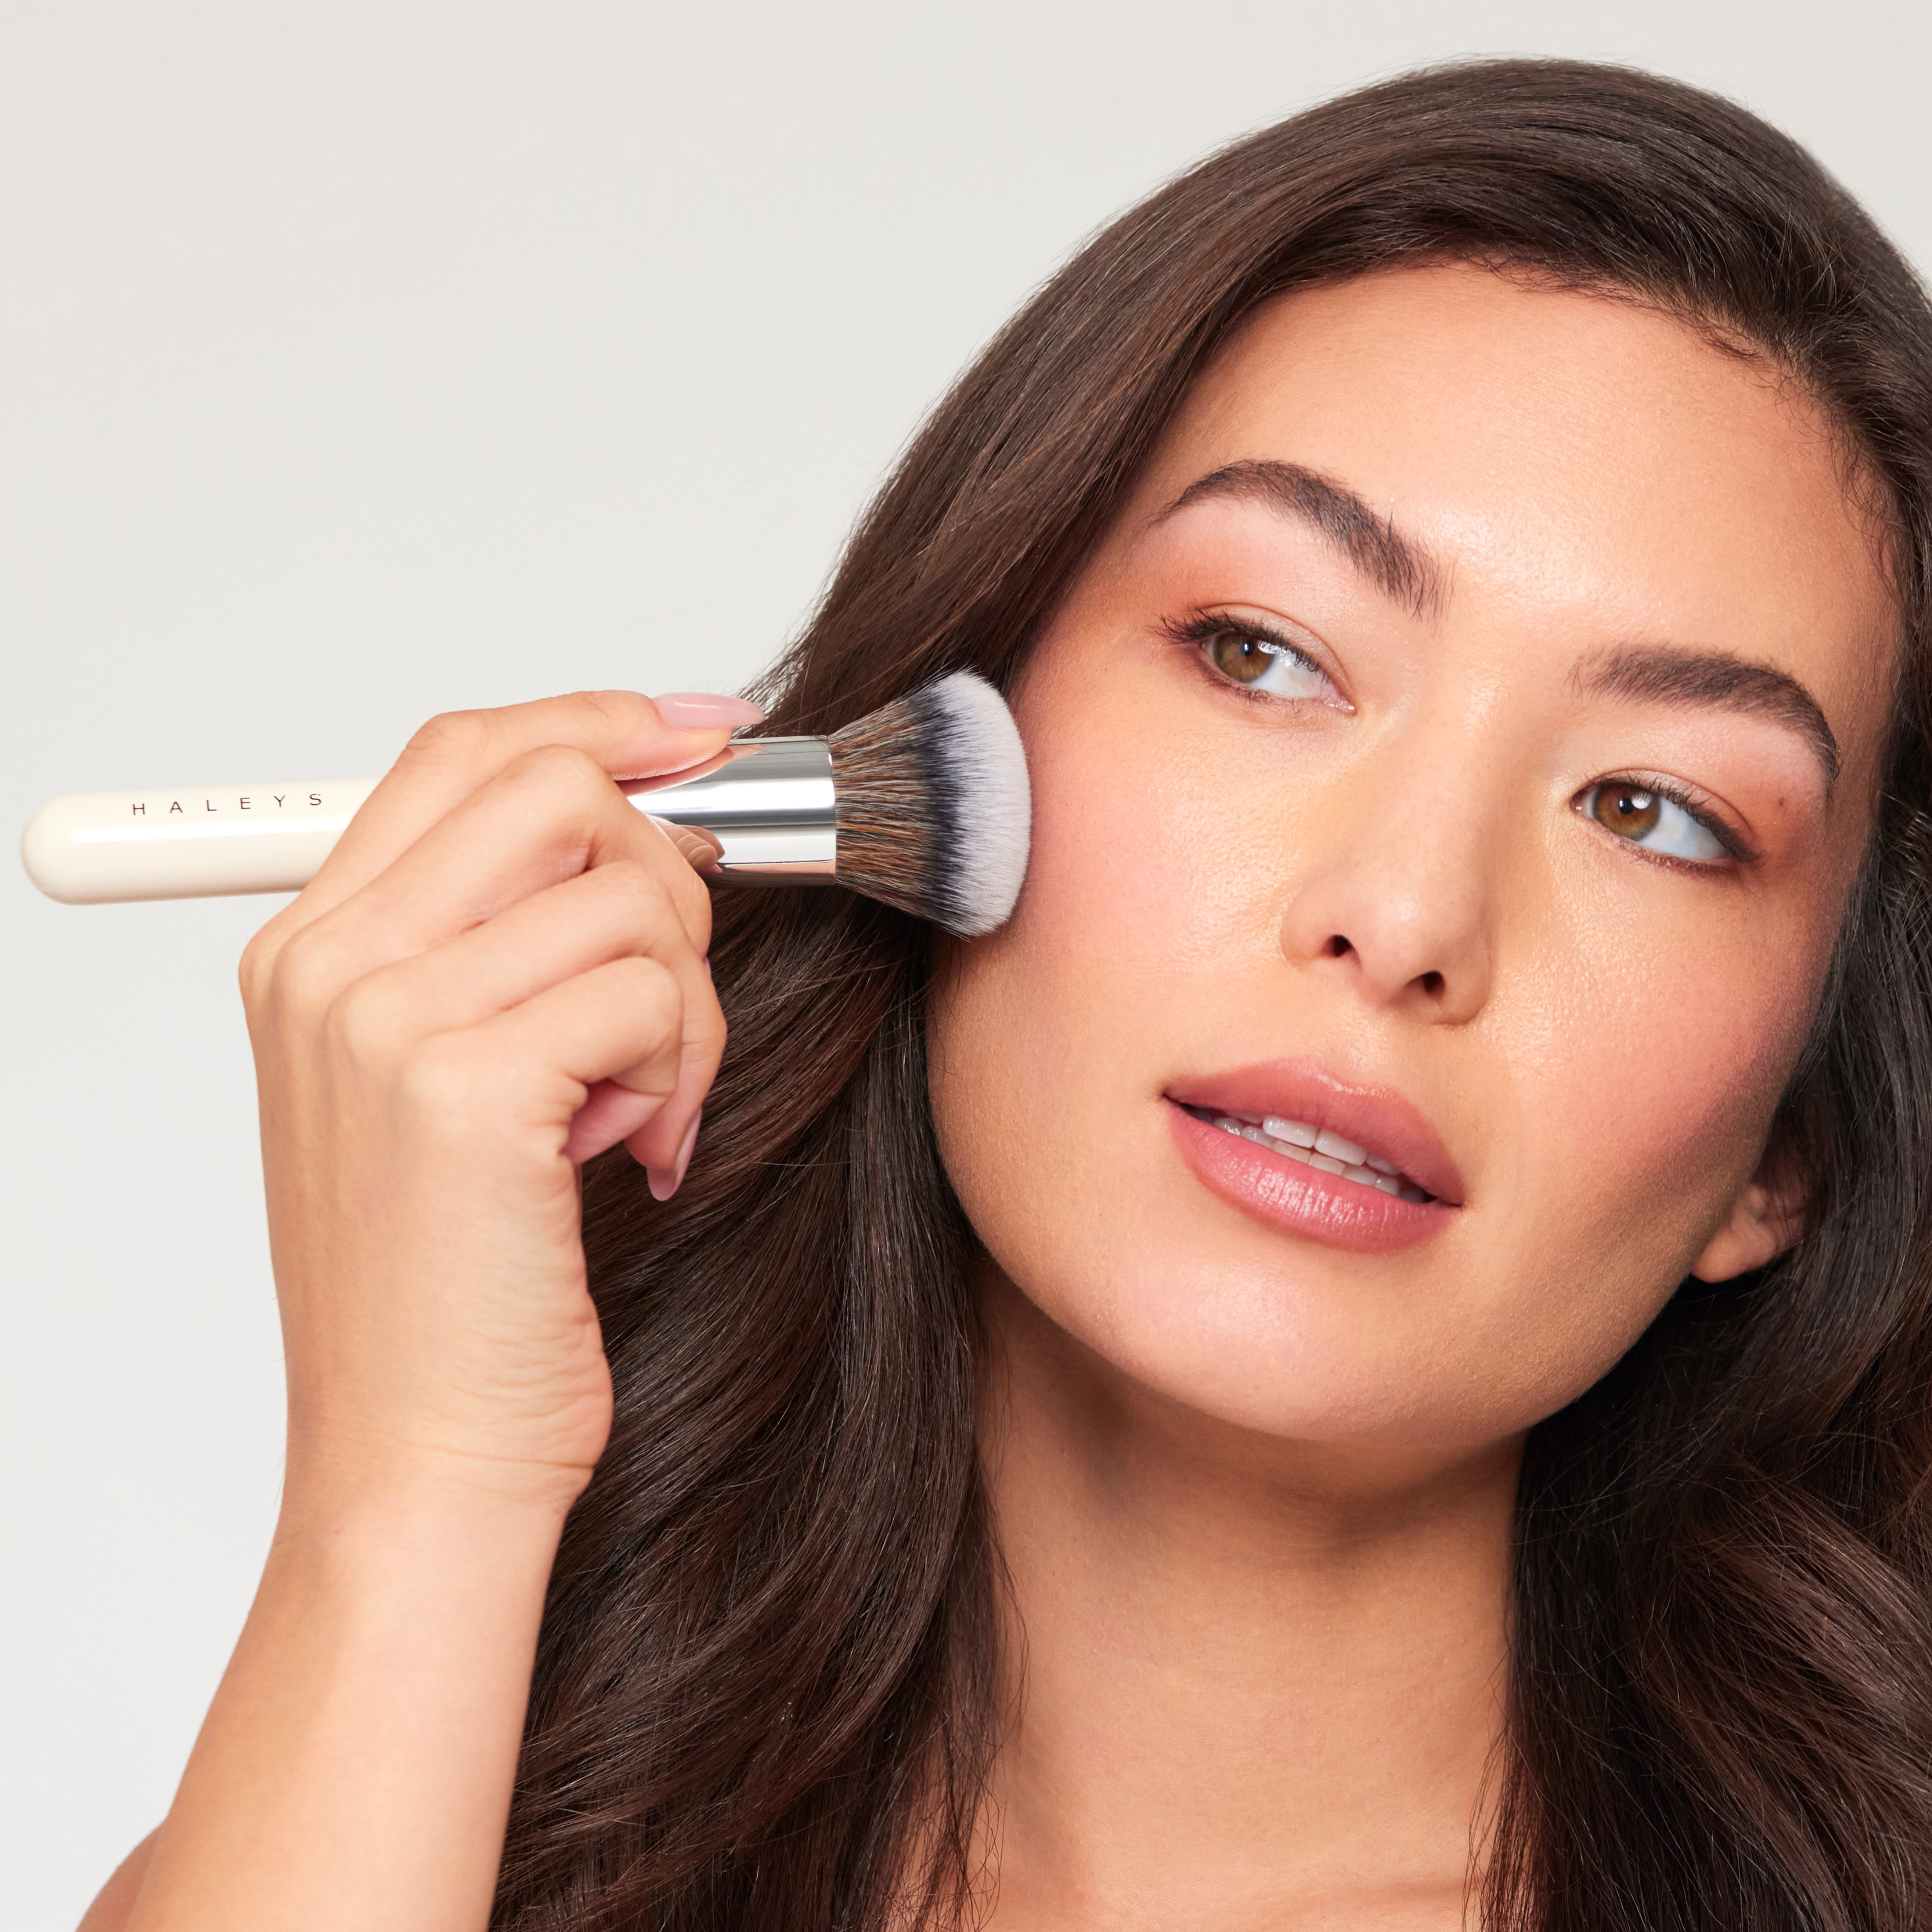
It’s an angled brush that tucks itself neatly into the sunken areas of your face (or body) to deliver contoured definition and a beautiful, dimensional look. Not only does it achieve a streak-free, buildable application of your favorite powder or cream products, it is also designed with intentionally tapered bristles that provide precision whilst blending out the harshest of lines.
Crafted from high-end synthetic fibers and sustainably-sourced wood, we made sure that this tool’s impact on the environment was as minimal as possible. Plus, it’s also vegan and cruelty-free!
Get Deep
Essentially, contouring is the opposite of highlighting. While highlighting involves brightening certain areas of your face, contouring focuses on deepening areas that you’d like to define or recede. It’s a great technique for softly ‘correcting’ any features or slimming down areas of the face. You can even contour to enhance any areas to make them appear larger!
Choosing the right product and subsequent shade for your contour product, can make or break your final look. Makeup professionals tend to recommend using products that have neutral or olive undertones rather than orange or peach undertones, as they’re more “believable” since the shadows on your face are typically cooler.
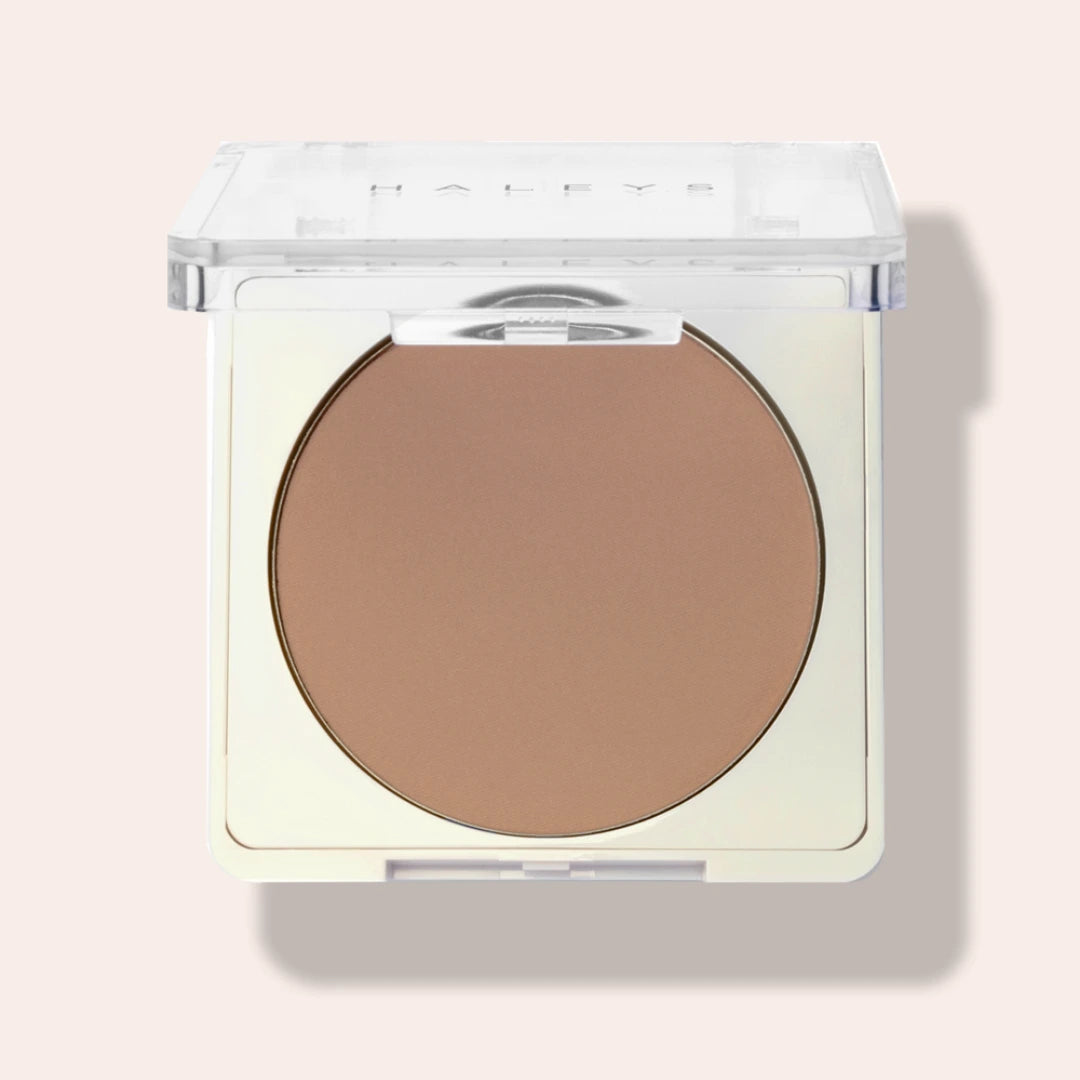
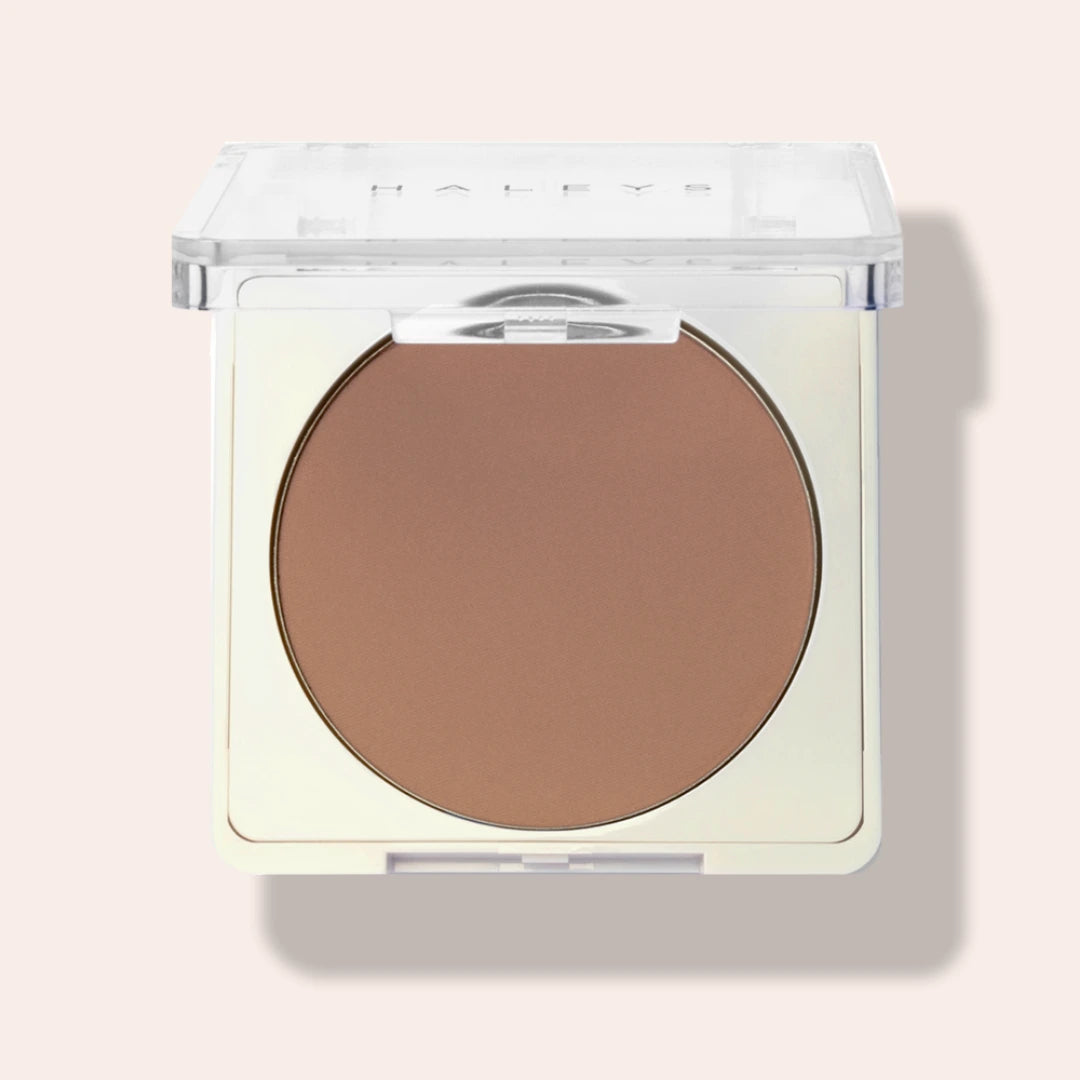
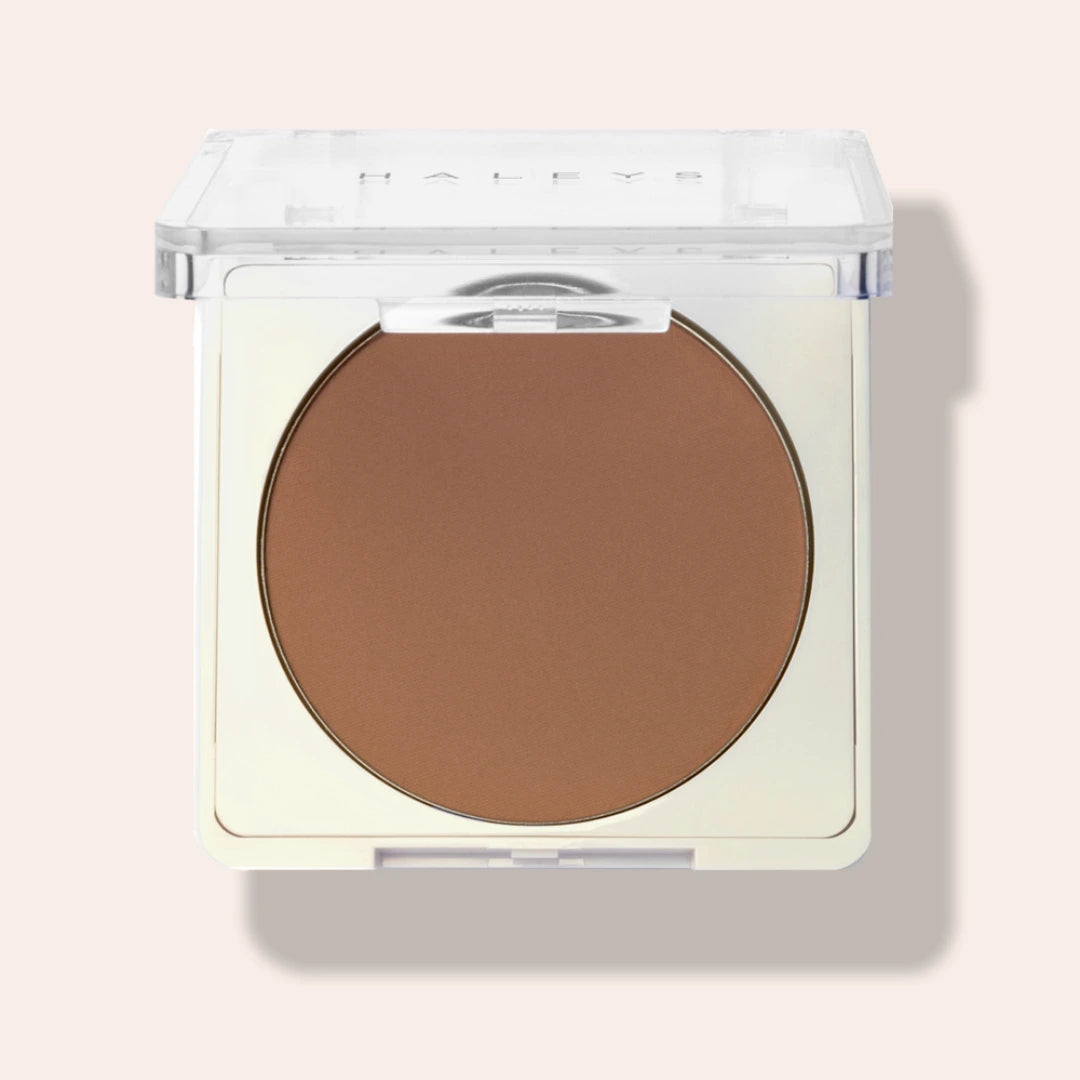
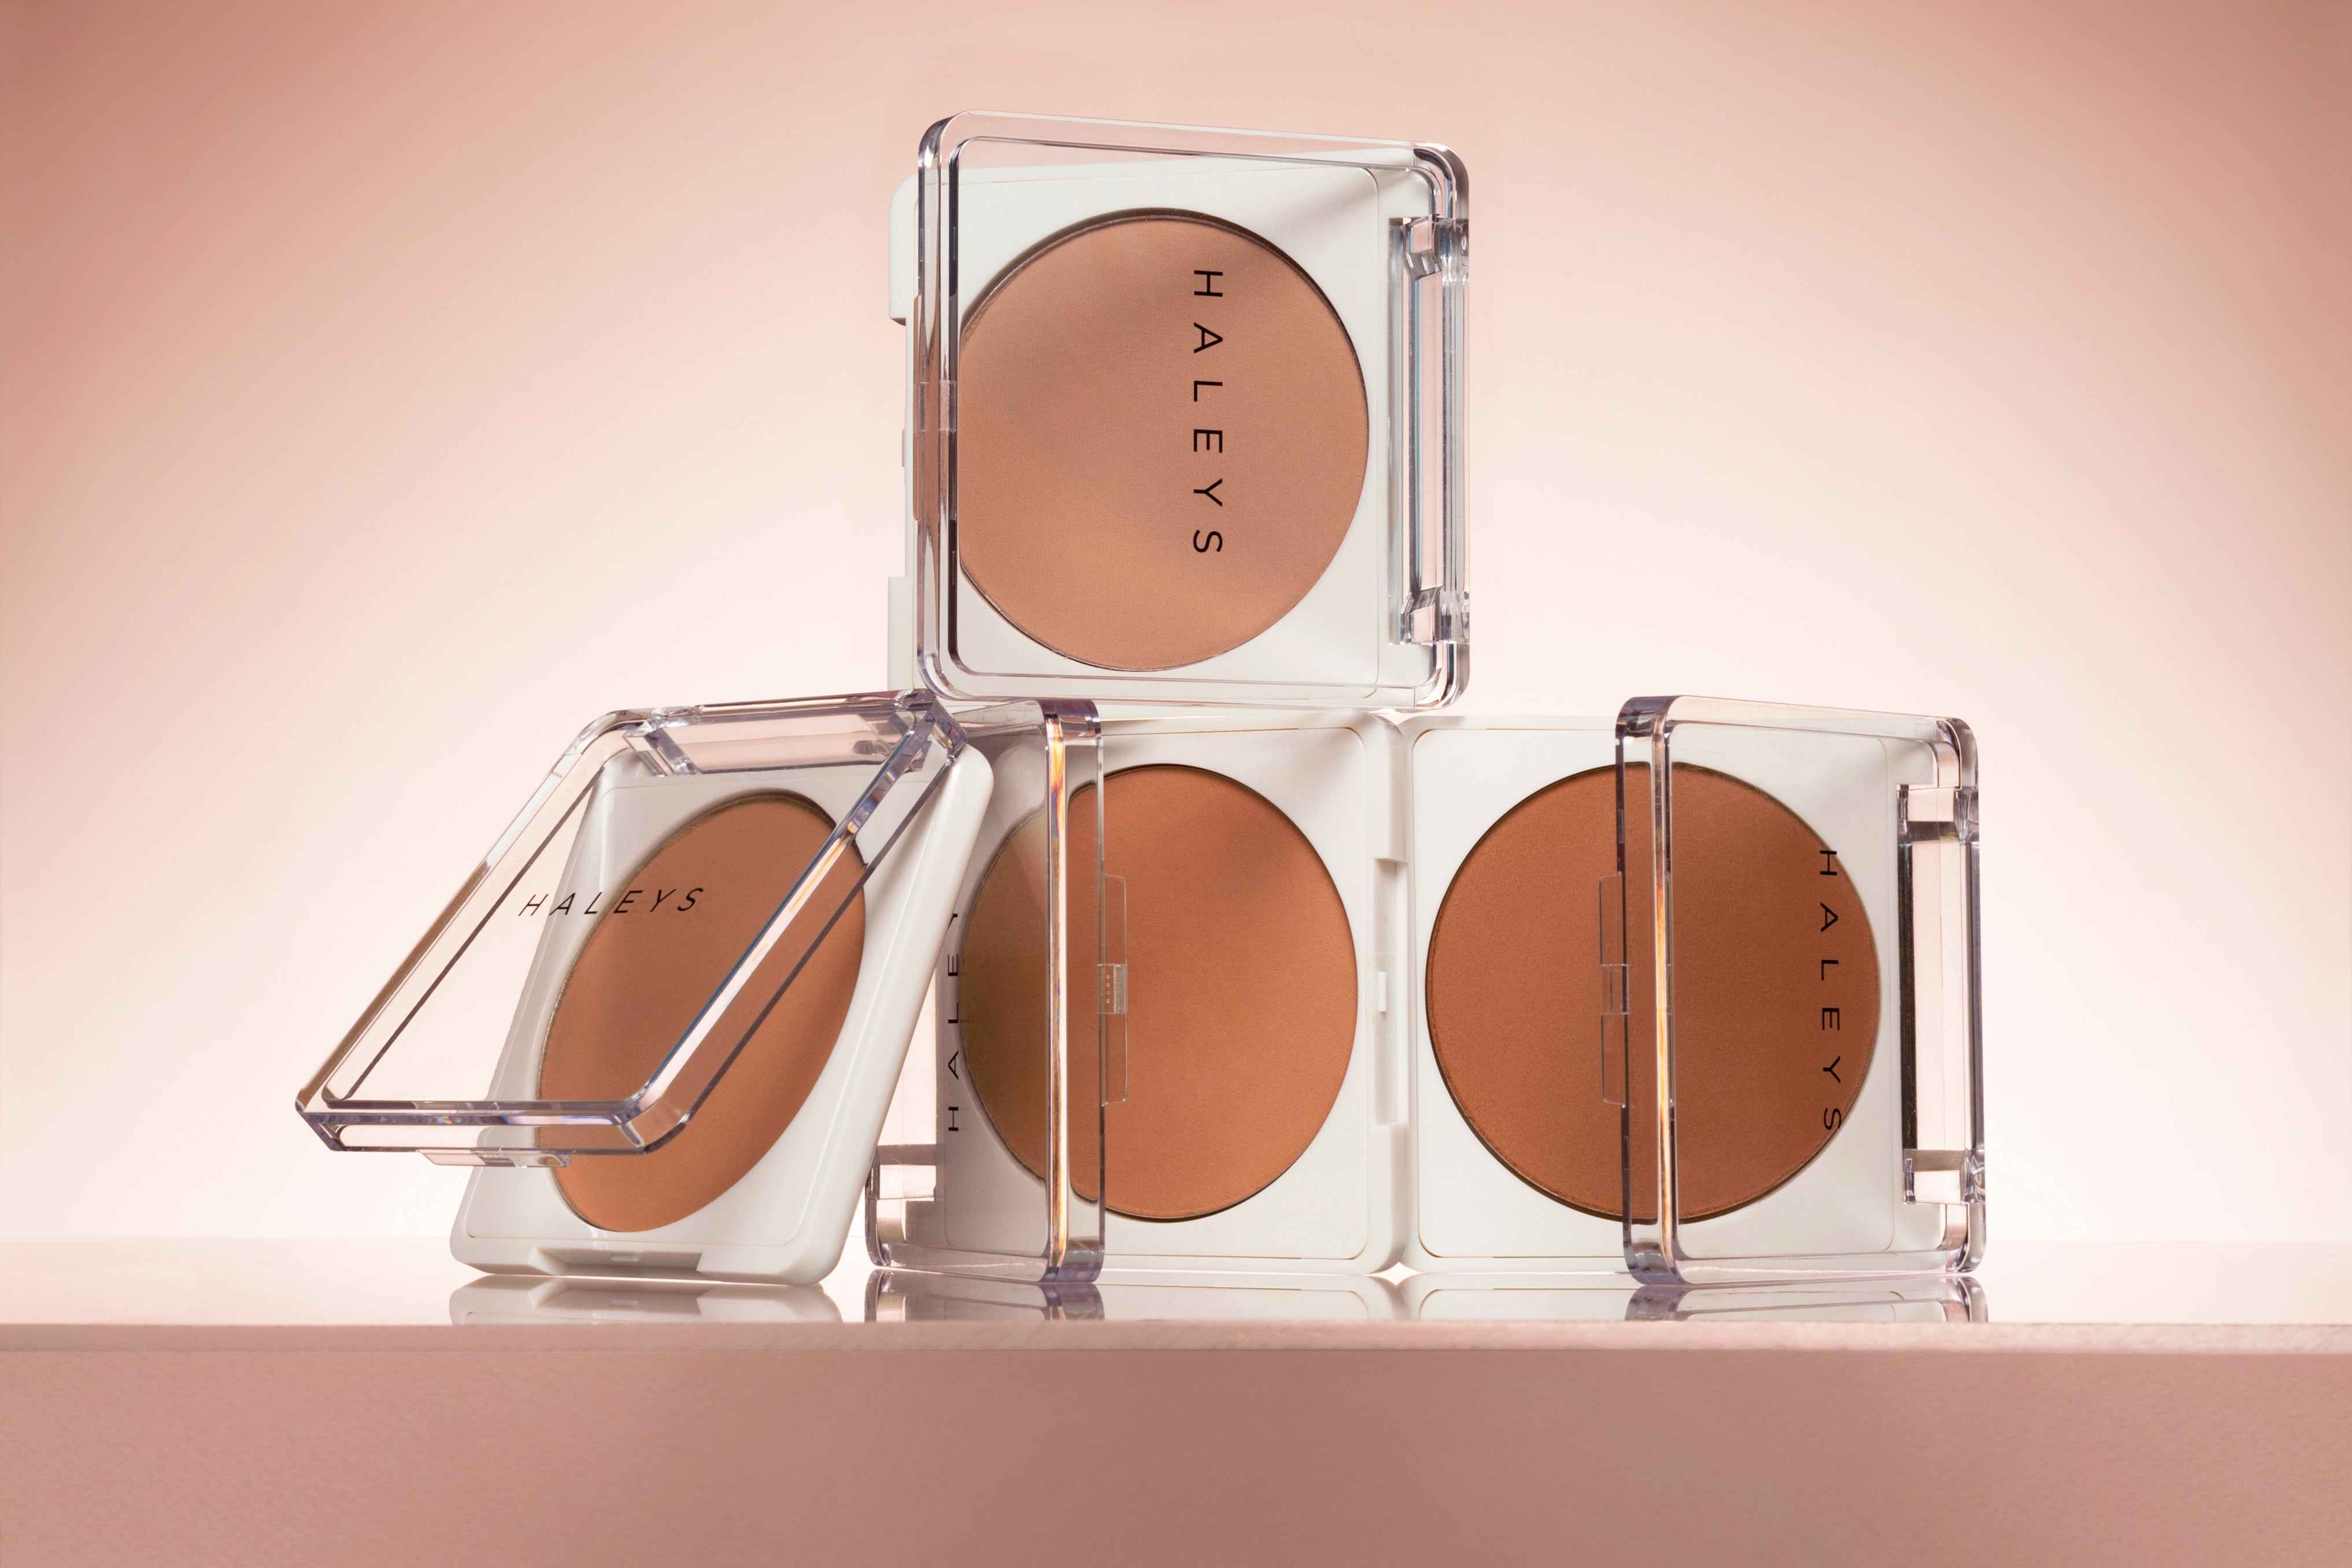
We recommend our Re-Sculpt Smoothing Contour Powder! It’s one of our founder’s favorites, plus it’s formulated with spherical powders that allow it to blend seamlessly into your skin, nourishing, smoothing and blurring away any texture – for a filter-like finish. Great for beginners, this powder is packed with skin-friendly ingredients like shea butter & chamomile flower water, which simultaneously nourish and soothe the skin.
Whether you’re using a cream, liquid or powder – be sure to tap off any excess product before you apply them to your face.
Always remember the golden rule, “You can always build it up, but you can not take it away.” Unless, of course, you decide to wipe it all if and start over again – which we don’t think you’ll actually want to do, so just take our word for it!
Follow the grooves
The key to defining your features without leaving stripes behind is to constantly follow the natural hollows of your face, moving your brush around as soon as it hits the skin – whether you’re blending in circular motions or tapping your chosen product in.

For a smooth, defined look, follow these steps:
- Depending on if you’re going for a full-face, you can begin by applying your foundation or any other base makeup. If you’re more of an ‘all natural' type of gal, you can swap the foundation for your preferred moisturizer to hydrate and prep your base.
- Using our Brilliant Contour Brush, pick up a small amount of product, such as our Re-Sculpt Smoothing Contour Powder.
- Apply the product to the areas of your face that you want to define or sculpt, such as the hollows of your cheeks, the tip of your nose, and your hairline – making sure to drag any excess product down your jaw, to make everything cohesive.
- Blend the contour product into your skin using circular motions to diffuse any harsh lines or gently tapping it into areas where you’d like more precision.
- To bring some life back to your face, finish up by applying some blush and a touch of highlighter on the highest point of your face or décolletage.
Clean up time
To keep your contour brush working efficiently, while getting rid of bacteria build-up that can cause breakouts – it’s important to stay on top of your cleaning routine. If you use your brush for liquid and cream products, you’ll need to clean it more frequently, once every week. If you only use it for powder, you can go up to two weeks between washings.
Follow the easy steps below to properly clean your brushes.
Step 1: While keeping the silver metal wrap DRY, wet the brush's bristles with lukewarm water.
Step 2: Add a dime-sized amount of cleanser to the palm of your hand.
Step 3: Swirl bristles around in your palm with cleanser until fully saturated.
Step 4: Place bristles under warm water and rinse until water runs clear. Be sure to keep the silver metal wrap dry at all times while rinsing.

